# PureAdmin 学习文档
vue-pure-admin (opens new window) 是一款开源免费且开箱即用的中后台管理系统模版。使用 Vue3、Vite、Element-Plus、TypeScript、Pinia、Tailwindcss 等主流技术栈开发。
# 项目初始化
通过官方地址 (opens new window)下载 非国际化精简版前端代码 ,精简版是基于 vue-pure-admin (opens new window)提炼出的架子,包含主体功能,更适合实际项目开发,打包后的大小在全局引入 element-plus (opens new window)的情况下仍然低于 2.3MB,并且会永久同步完整版的代码。开启 brotli 压缩和 cdn 替换本地库模式后,打包大小低于 350kb。
# 创建新的路由和页面
因为 PureAdmin 是通过编写路由 /src/router/*.ts 文件自动生成路由的,并且可以支持屏蔽首页VITE_HIDE_HOME,页面权限判断isOneOfArray、页面自动滚动scrollBehavior。
# 静态路由(由前端编写的路由规则) (opens new window)
创建单个子菜单
创建新路由规则文件
/src/router/modules/first.tsexport default { path: "/first", name: "First", redirect: "/firstPage", // 页面自动跳转到子路由 meta: { icon: "homeFilled", title: "一个子菜单", rank: 0 // 按照路由中meta下的rank等级升序来排序路由 // showLink: false // false不展示此路由 }, children: [ { path: "/firstPage", name: "Firstpage", component: () => import("@/views/first/index.vue"), //编写左边主框架内容 meta: { title: "子菜单", showParent: true // ture展示上面的一级路由,只有一个子路由才需要填写 } } ] } as RouteConfigsTable;1
2
3
4
5
6
7
8
9
10
11
12
13
14
15
16
17
18
19
20
21
22创建新路由内容文件
/src/views/first/index.vue,与上面component引入的文件路径一致
创建多个子菜单
创建新路由规则文件
/src/router/modules/second.tsexport default { path: "/second", name: "Second", redirect: "/secondPageOne", meta: { icon: "homeFilled", title: "多个子菜单", rank: 11 }, children: [ { path: "/secondPageOne", name: "SecondPageOne", component: () => import("@/views/second/secondPageOne/index.vue"), meta: { title: "第一个子菜单" } }, { path: "/secondPageTwo", name: "SecondPageTwo", component: () => import("@/views/second/secondPageTwo/index.vue"), meta: { title: "第二个子菜单" } } ] } as RouteConfigsTable;1
2
3
4
5
6
7
8
9
10
11
12
13
14
15
16
17
18
19
20
21
22
23
24
25
26
27
28创建新路由内容文件,与上面
component引入的文件路径一致
创建多层子路由文件
创建新路由规则文件
/src/router/modules/thire.tsexport default { path: "/third", name: "Third", redirect: "/thirdPageLevelTwo", meta: { icon: "homeFilled", title: "多层子菜单", rank: 12 }, children: [ { path: "/thirdPage", // 有子路由后,无法访问此页面 name: "ThirdPage", meta: { title: "第一层子菜单", showParent: true }, children: [ { path: "/thirdPageLevelTwo", name: "ThirdPageLevelTwo", component: () => import("@/views/third/level/index.vue"), meta: { title: "第二层子菜单", showParent: true } } ] } ] } as RouteConfigsTable;1
2
3
4
5
6
7
8
9
10
11
12
13
14
15
16
17
18
19
20
21
22
23
24
25
26
27
28
29
30
31创建新路由内容文件,与上面
component引入的文件路径一致
问题一:页面路由权限判断是如何实现的?
问题二:从读取
modules的路由文件到最终形成完整的路由信息的过程是怎么样的?问题三:为什么所有子页面都是基于同一个
layout模板渲染- ⚠️ 如果无需使用公共
layout页面,则需要将路由信息写在src/router/modules/remaining.ts
- ⚠️ 如果无需使用公共
# 动态路由(从后台获取角色对应的路由)
# 图标的使用 (opens new window)
这个框架虽然是基于
Element-Plus搭建的,可是为了减少项目打包后的体积,并没有直接引入全部的图标,以及为了拓展更多的图标库而采用了动态引入图标/src/components/ReIcon/src/offlineIcon.ts,支持@iconify-icons(opens new window) 图标总库项目默认已经在本地下载好两个图标库文件
@iconify-icons/ep(opens new window) 是Element-Plus的图标库@iconify-icons/ri(opens new window) 是Remix Icon的图标库
现在想修改一级菜单的图标为
@iconify-icons/ri/bell-fill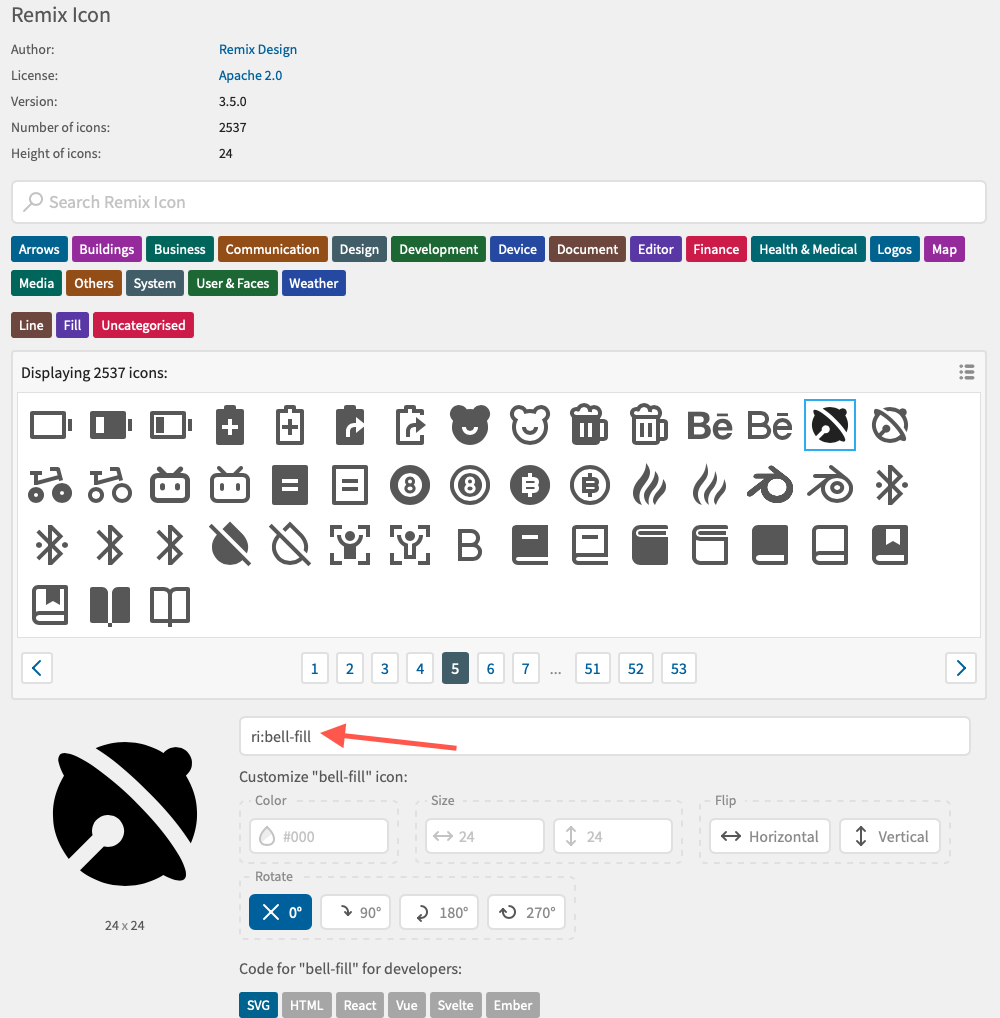
在文件
/src/components/ReIcon/src/offlineIcon.ts中引入图标import { addIcon } from "@iconify/vue/dist/offline"; /** * 这里存放本地图标,在 src/layout/index.vue 文件中加载,避免在首启动加载 */ // 本地菜单图标,后端在路由的icon中返回对应的图标字符串并且前端在此处使用addIcon添加即可渲染菜单图标 import HomeFilled from "@iconify-icons/ep/home-filled"; import InformationLine from "@iconify-icons/ri/information-line"; import Lollipop from "@iconify-icons/ep/lollipop"; + import BellFill from "@iconify-icons/ri/bell-fill"; addIcon("homeFilled", HomeFilled); addIcon("informationLine", InformationLine); addIcon("lollipop", Lollipop); + addIcon("bellFill", BellFill);1
2
3
4
5
6
7
8
9
10
11
12
13
14
15
16在文件
/src/router/modules/first.ts使用图标icon: "bellFill"如果想在页面中使用图标
  <script setup lang="ts">
+ import { useRenderIcon } from "@/components/ReIcon/src/hooks";
  </script>

  <template>
    <div>
      <h2>first page</h2>
+     <IconifyIconOffline icon="bellFill" />
      <!-- or -->
+     <el-input :prefix-icon="useRenderIcon('bellFill')" />
    </div>
  </template>
1
2
3
4
5
6
7
8
9
10
11
12⚠️ 并不推荐把所有图标都引入到该文件,因为该文件会在页面登录进去之后(非首屏加载哦)一次性加载里面的所有图标,所以这里最好 只引入菜单相关的图标
✅推荐图标在页面中按需加载使用
  <script setup lang="ts">
- import { useRenderIcon } from "@/components/ReIcon/src/hooks";
+ import BellFill from "@iconify-icons/ri/bell-fill";
  </script>

  <template>
    <div>
      <h2>first page</h2>
-     <IconifyIconOffline icon="bellFill" />
-     <!-- or -->
-     <el-input :prefix-icon="useRenderIcon('bellFill')" />
+			<IconifyIconOffline :icon="BellFill" />
    </div>
  </template>
1
2
3
4
5
6
7
8
9
10
11
12
13
14